Hardcoded values accumulate in every Figma file that uses design tokens — not because designers are careless, but because Figma Variables are opt-in at the property level. Every fill, padding side, radius, and font size must be individually bound, and no workflow enforces that step at the moment you pick a color or set a spacing value. The result is token drift: properties that look correct on the canvas but carry no Variable binding, invisible to mode switches, token exports, and upstream design-system changes. Atomic, one-by-one manual review is technically possible but practically hopeless on files with thousands of layers. Atomize’s Find Untokenized Values scanner walks thirteen property categories across any file, page, or selection, verifies each property against boundVariables, and produces a grouped report with a suggested token for every finding — so cleanup maps directly to a ticketing flow.
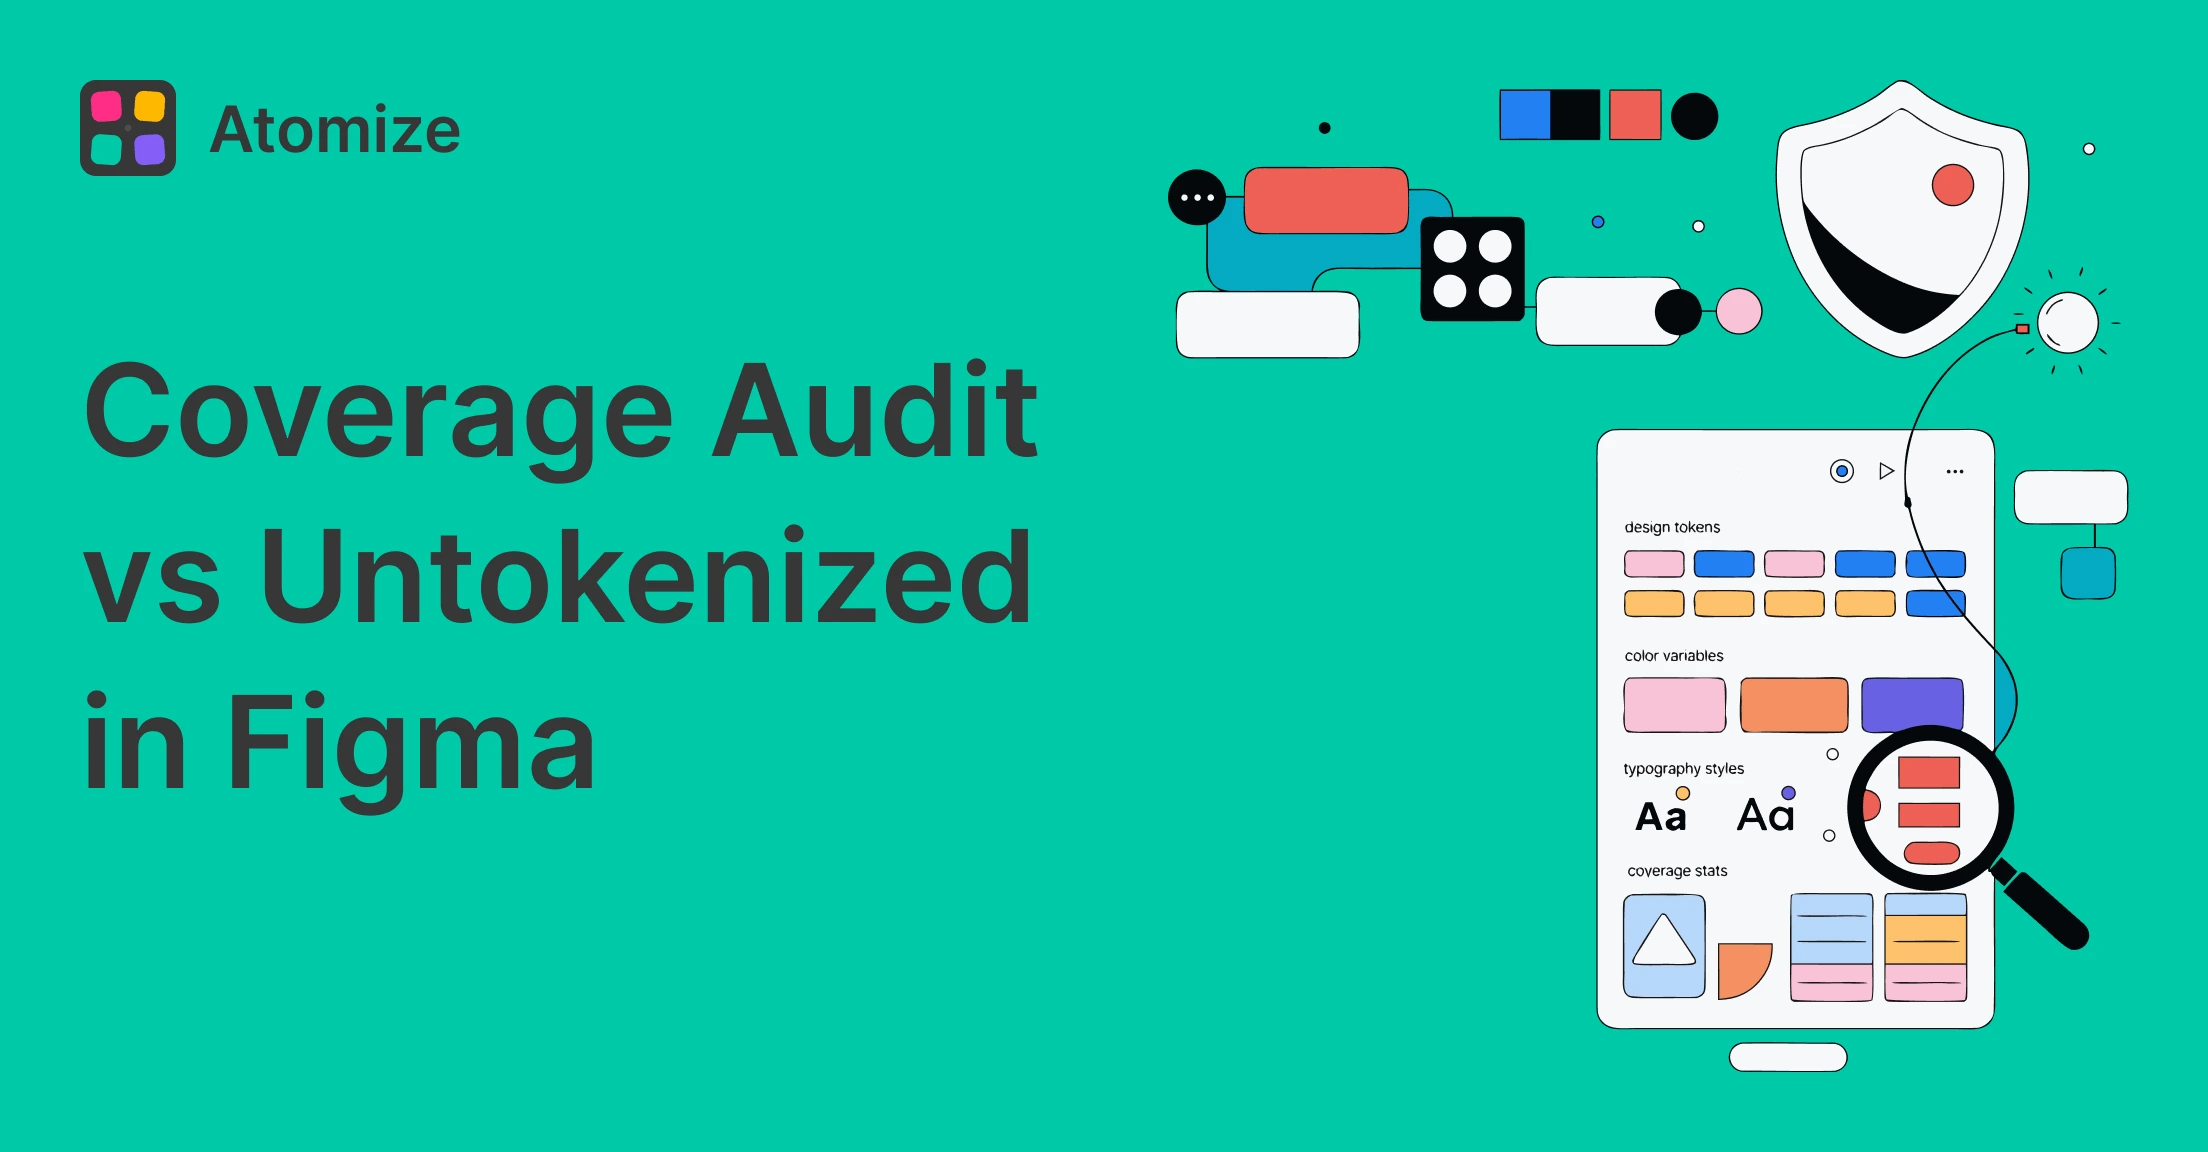
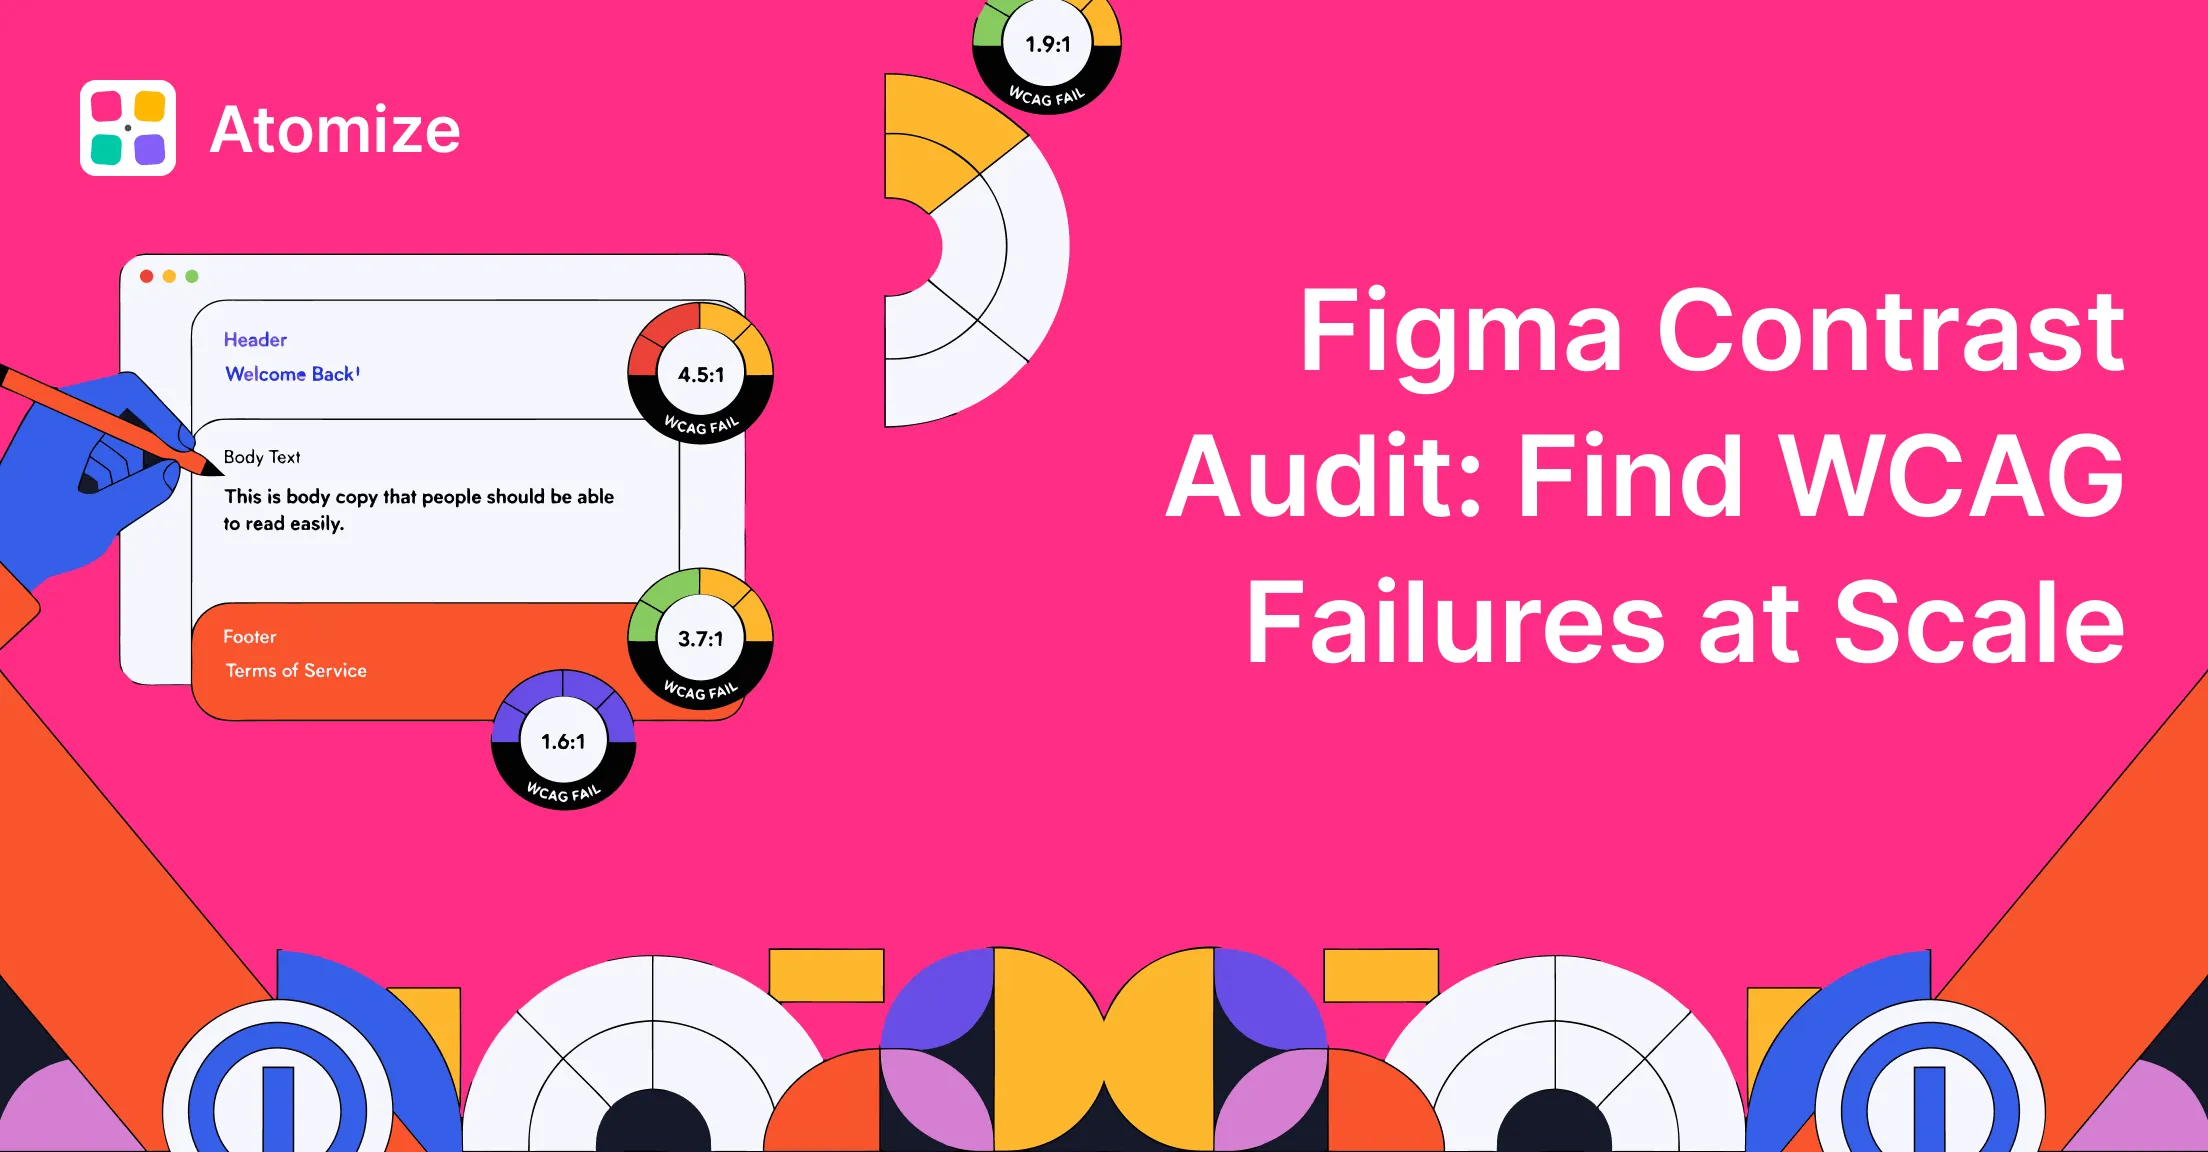
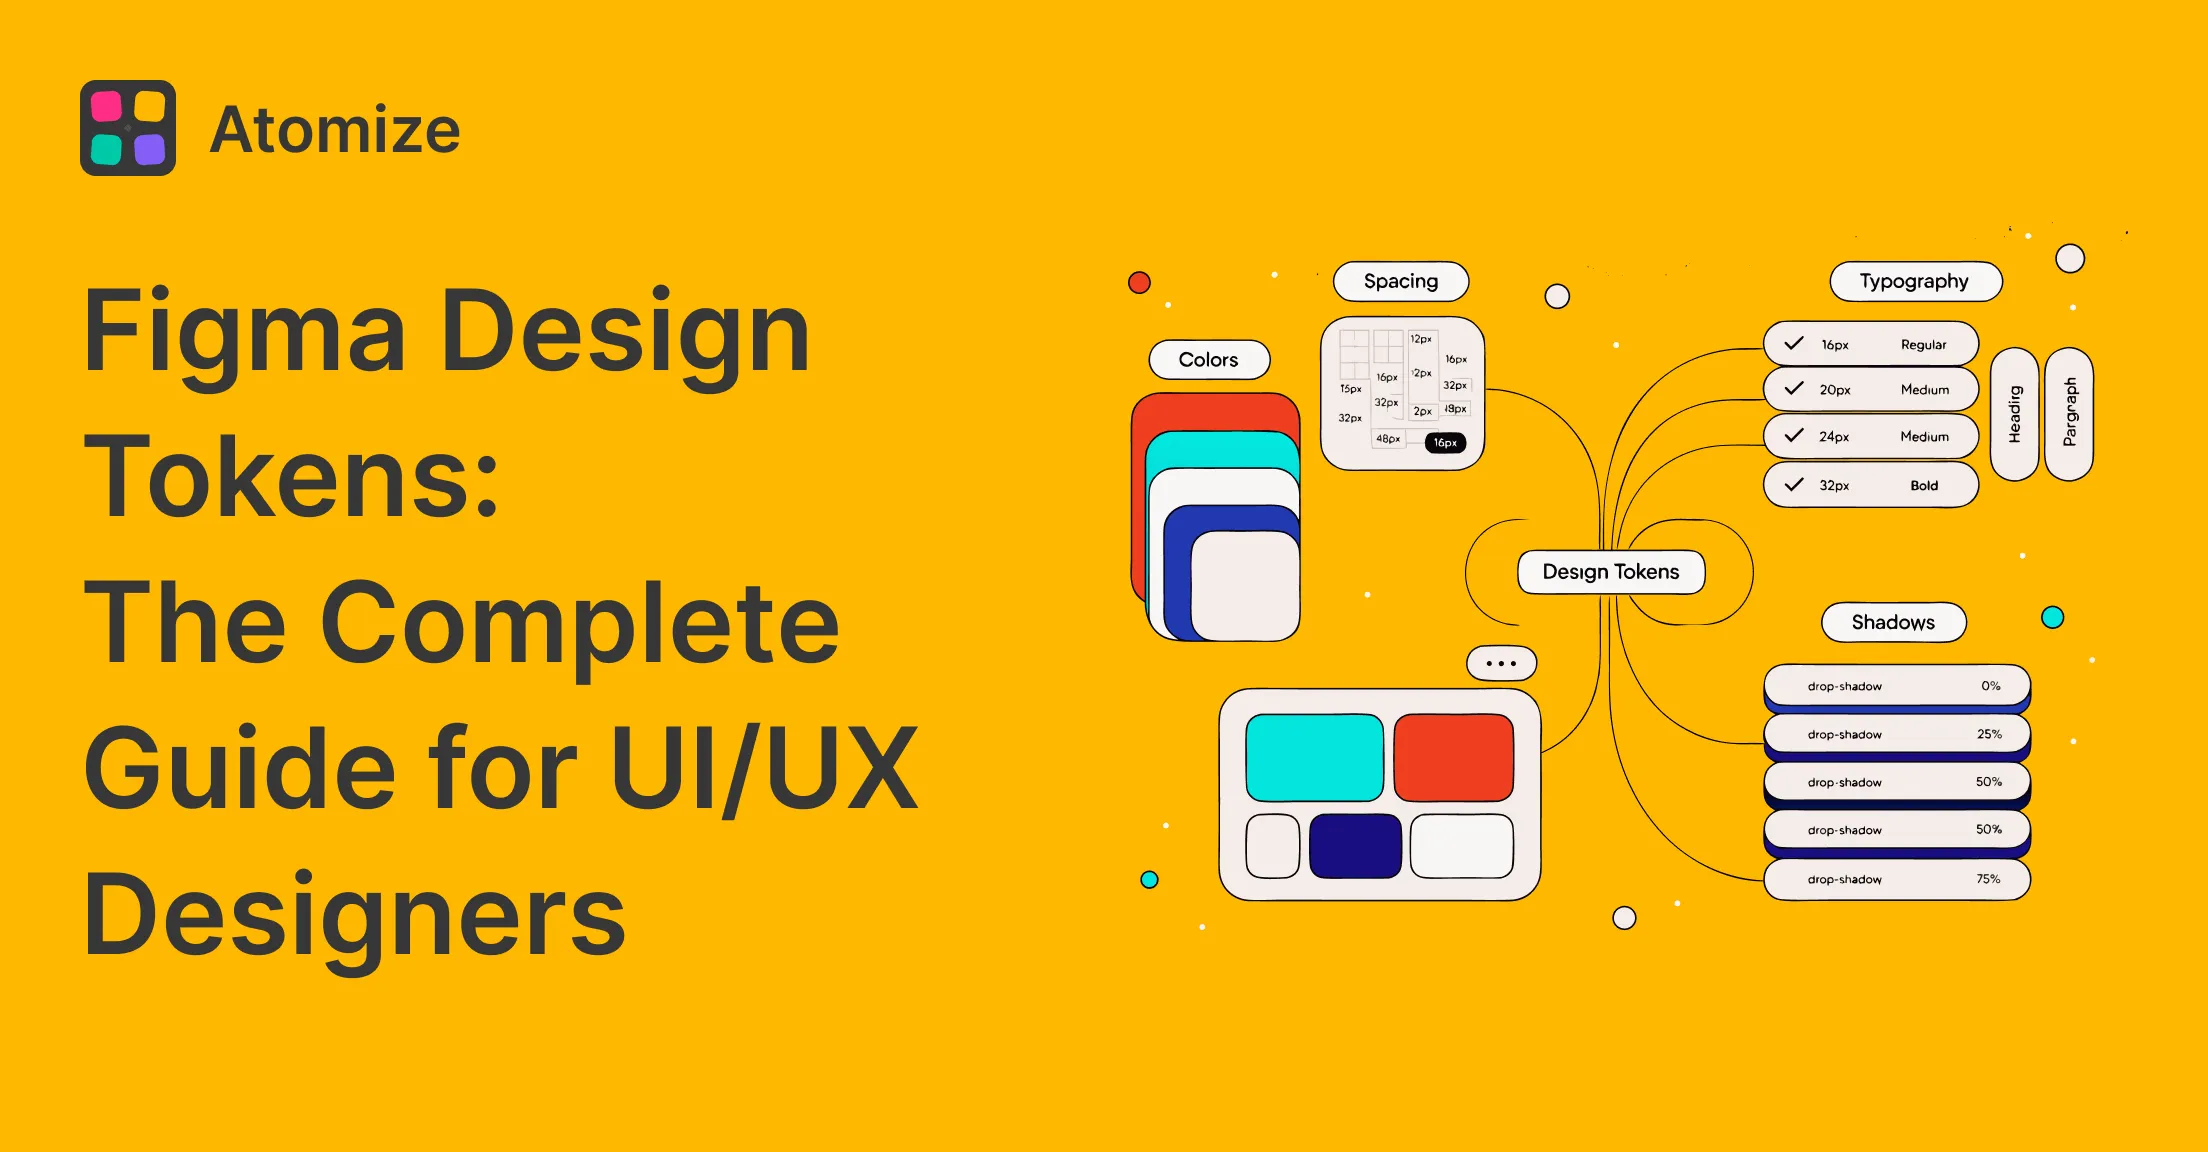
Related workflows: Figma Design Tokens: The Complete Guide for primitives and semantic layers, Coverage Audit vs Untokenized Values for the binding score vs literal list split, Contrast Audit for WCAG for accessibility checks after binding cleanup, and the DTCG specification for token export standards.
What is a tokenized value in Figma?
A tokenized value in Figma is any layer property linked to a Figma Variable through that node’s boundVariables map. The inspector may still display #0D99FF or 16px, but Figma stores a VARIABLE_ALIAS pointing at a variable ID — so mode switches, library updates, and token exports resolve through names like color/primary/default or space/4 instead of a one-off literal. Tokenized does not mean “looks on-brand.” Two components can share identical fills and padding while only one is bound. The scanner checks binding only: if a property slot has no alias in boundVariables, the value is untokenized and lands in the report even when the pixels match your primitive scale. That is why teams pair this scan with a structured primitive and semantic token setup — names and bindings must align, not just appearance.
What untokenized actually means
An untokenized value is a property that holds a raw literal with no Variable alias on that slot. A fill of #0D99FF and a fill bound to color/primary/default look identical on the canvas; only the bound fill responds to mode switches, flows through your token export pipeline, and picks up changes from upstream tokens. The scanner flags every literal the API exposes — that classification is binary and mechanical, which is why an automated pass is the only honest way to measure coverage across thousands of layers. Token drift accumulates fastest in spacing and radius properties, not color. Color overrides get caught in visual review because a wrong red is obvious. A spacing value 2px off from the token scale passes unnoticed for months, until a developer compares the design spec to the codebase and finds the gap has grown into a multi-property mismatch. The components most likely to carry hardcoded spacing are ones built before the token system was established: navigation bars, modals, and form elements.
Tokenized vs untokenized - a quick example
The same button frame can look identical in two files and still be in completely different states. The first one is fully bound; the second has the same values, typed in by hand. The scanner ignores the first and reports every property on the second.
/* Tokenized - bound to Variables */
fill            →  color/primary/default (#0d99ff)
padding/x       →  space/4 (16px)
padding/y       →  space/3 (12px)
radius          →  radius/md (8px)
font/size       →  text/body/md (14px)

/* Untokenized - same values, no binding */
fill            =  #0d99ff
padding/x       =  16px
padding/y       =  12px
radius          =  8px
font/size       =  14px
The real cost of token drift
Token drift is not a cosmetic problem — it carries measurable cost across four dimensions.
Design inconsistency. Two components that should share the same visual language diverge silently. One card uses 16px padding through a Variable; another, copied from a different file, uses 14px typed in by hand. The gap is a few pixels today. Six months later it is a design system that nobody trusts, because visual QA catches the inconsistency but cannot trace it to its root cause.
Developer confusion. When the design spec shows 16px but the token system defines space/4 as 12px, engineers are forced to choose: hardcode the value in CSS (doubling the drift into the codebase) or flag the inconsistency in review (delaying the sprint). Either way, the token contract between design and code is broken. Over time, developers stop trusting the token names and revert to reading pixel values from the inspector — defeating the purpose of a design-token system.
Accessibility failures. Hardcoded contrast ratios do not respond to dark mode, high-contrast mode, or user-scaled typography. A color pair that passes WCAG AA in light mode may fail entirely in dark mode when the values are not routed through mode-aware Variables. The problem is invisible in design review — it only surfaces in production, where the fix is slower and more expensive.
Rebranding costs. Without binding, changing a primary color means hunting through every frame and component — a manual audit that takes days across a mature file — instead of updating one Variable and watching the file resolve in seconds. The cost is proportional to how long the drift went unchecked.
When drift creeps in — the design system lifecycle
Token drift follows a predictable pattern across the design system lifecycle. Understanding when it happens helps teams budget audit effort at the right moments.
Early stage (0–3 months). The token set is incomplete. Designers assign Variables where they exist and hardcode the rest because the alternative is blocking work until every token is defined. This is normal and expected — the goal at this stage is not zero drift, but a plan for when the first audit will run.
Growth stage (3–12 months). Components get copied between files, merged into libraries, and adapted for new features. Copy-paste carries the literal values but not the binding — the receiving file may not even have the same Variable collections. Agency handoffs, community templates, and design exploration frames introduce fresh literals faster than manual review can catch them.
Mature stage (12+ months). The token system is fully defined, but components built before it was established still live in production files — navigation bars, modals, form elements that passed every visual review because their hardcoded values happened to match the palette. New team members onboard without full knowledge of the token structure and add one-off values during fast iterations. Pre-token components of this kind typically account for 60–70% of the total finding count on a first scan.
Manual audit vs automated scan
Before automated scanners, teams relied on manual token audits — a designer opens the file, inspects each component’s properties one by one, and notes anything that looks like a hardcoded value. The table below shows why that approach breaks down on real-world files.
Manual audit vs automated scan for token coverage
| Aspect | Manual audit | Automated scan |
|---|---|---|
| Time for 1,000 layers | Hours to days | Seconds |
| Detection method | Visual comparison to token scale | Checks boundVariables directly |
| Spacing accuracy | Cannot detect 2px deviations reliably | Exact — flags every unbound property |
| Coverage | One property type at a time | All 13 categories in a single pass |
| Repeatability | Varies by reviewer and session | Deterministic — same input, same output |
| Export | Manual notes or spreadsheet | JSON and XLSX in one click |
The core difference is detection logic. A human auditor compares a fill value to the token scale and asks “does this look right?” — which misses a 2px spacing deviation every time. A scanner checks boundVariables and asks “is there an alias on this slot?” — which catches every unbound property regardless of whether the pixel value matches the scale.
Why untokenized values appear in mature design systems
Token drift is a structural problem, not a discipline failure — you cannot lecture it into compliance. In a design system, tokens are the shared contract that must stay in sync between design files and code, and drift breaks that contract silently. Variables in Figma are opt-in at the property level, and no workflow forces that step at the moment of editing. In building Atomize’s audit tooling across real design files, we consistently found drift entering through four vectors: exploration frames copied into the component page without binding cleanup, one-off hotfix shades nobody upstreams into the token library, components built before their token definitions existed, and frames imported from unpublished or external libraries. Each incident is minor; the aggregate is the gap r/DesignSystems threads describe — tokens and variables that become “inconsistent or missing” once a product has run long enough. An automated scan turns that invisible aggregate into a numbered list.
What the Atomize scanner checks
The scanner covers thirteen property categories in a single pass, closing the audit gaps that color-only tools leave open. Spacing and radius drift is harder to catch visually than color drift — a padding value 2px off the scale passes design review for months — yet most community plugins stop at fills and strokes. Across production scans, padding and gap categories routinely produce more findings than color on components built before the token system was established.
The full category coverage: Fill and Stroke color (COLOR variables), Stroke weight, Corner radius, Padding, Gap, Margin, Opacity, and Line height (FLOAT variables), Effects including drop shadow, inner shadow, layer blur, and background blur (COLOR / FLOAT variables), Font family (STRING variables), and Font size and Font weight (FLOAT / STRING variables). If you have built only a primitive layer so far — which is fine for early-stage systems — the scanner still finds matches when raw values line up with primitive variables. For a more complete result, pair this audit with a healthy primitive and semantic token structure so the suggestions point at the names you actually want components to bind to.
Three scan scopes - Selection, Page, File
Choosing the right scan scope is the single biggest factor in report signal-to-noise ratio. A File scan on an active working file will surface hundreds of in-progress findings alongside real drift, diluting the actionable items; a Selection scan on a finished component gives a clean, fast result. A practical three-scope rhythm: Selection as a continuous check while iterating, Page before design review handoffs, and File as a hard gate before each library publish. Match the scope to the moment in your workflow and the report stays useful rather than overwhelming.
Comparing the three scan scopes
| Scope | What it walks | Best for | Typical scan time |
|---|---|---|---|
| Selection | Only the nodes you have selected on the current page | Auditing one component before merging | Under 2 seconds |
| Page | All top-level nodes on the current page | Reviewing a screen, frame set, or working area | 1-10 seconds |
| File | All top-level nodes across all pages | Pre-release audits and design-system maintenance | 5-60 seconds depending on size |
On long-running files the File scope can produce thousands of findings on the first run. Treat that initial scan as a baseline and budget the cleanup across iterations rather than blocking work on a single hero ticket.
Reading the report and acting on it
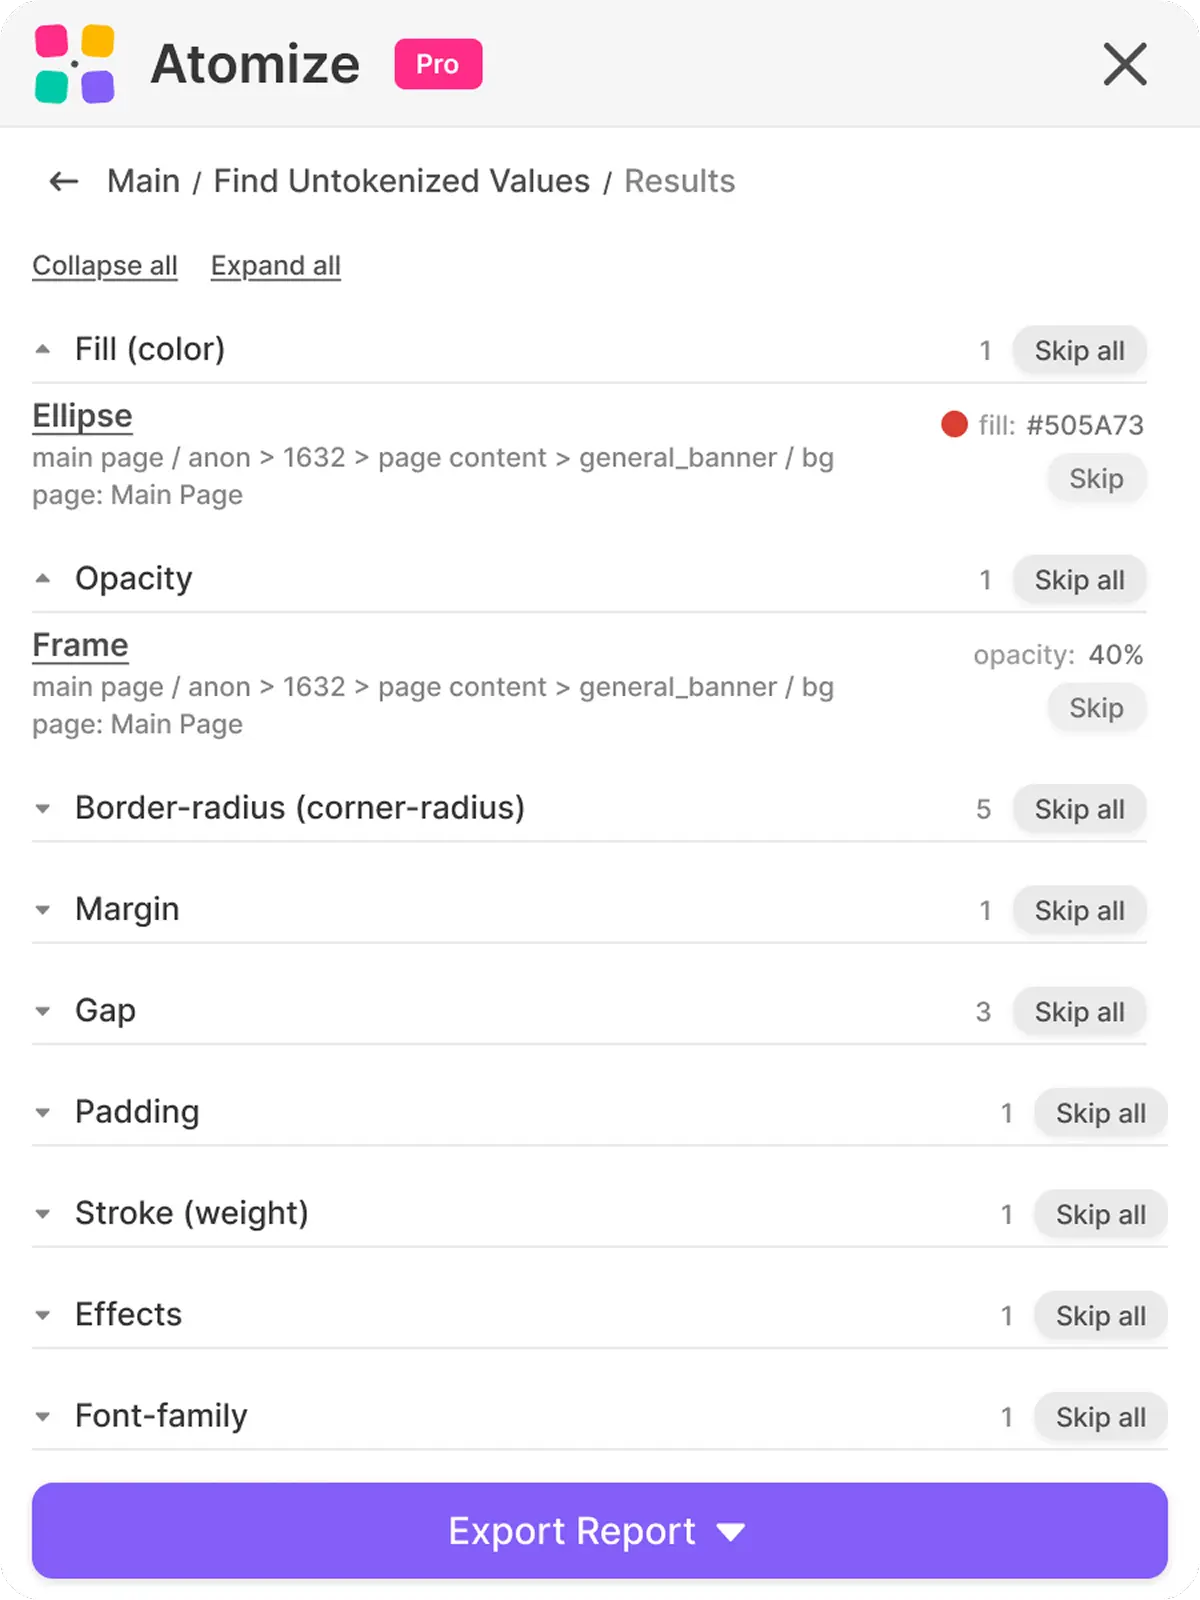
The report groups findings by property category. Each row shows the node name, its layer path, the page it lives on, the raw value, and a suggested token when one matched — clicking the node name selects it on the canvas and switches to the correct page automatically. Work through the report category by category: resolve colors first, then padding and gap, then typography. Effects and opacity tend to produce the most intentional one-offs and are good candidates for a Skip pass. Where possible, the report names the token you probably wanted — Atomize loads every local variable collection, follows alias chains until it hits a literal, and builds lookup maps from hex values to color variables and from numeric values to numeric variables. The suggestion is a hint, not an automatic action — you stay in control of what gets bound. Rescan after each cleanup pass to confirm the binding landed correctly.
Find Untokenized Values vs other Figma audit plugins
Atomize’s scanner is the only tool in the current Figma community that covers all five audit dimensions — color, spacing, typography, effects, and token suggestions — with export in a single pass. Most alternatives handle fills and strokes well but stop there, leaving spacing and typography drift invisible unless you run a second plugin. Across real-file audits, the categories those tools skip — padding, gap, font size, line height — were precisely where the largest accumulations of drift lived on mature products.
Atomize Find Untokenized Values vs other Figma audit plugins
| Plugin | Color audit | Spacing / radius audit | Typography audit | Effects audit | Token suggestions | Export |
|---|---|---|---|---|---|---|
| Atomize - Find Untokenized Values | Yes | Yes | Yes | Yes | Yes | JSON, XLSX |
| TokenOps | Yes | Yes | Partial | Partial | No | JSON |
| Relinky | Yes | Yes | Partial | No | Partial | No |
| Figxed Design System Audit | Yes | Yes | No | No | No | No |
| Design Token Checker | No | Yes | No | No | No | No |
Best practices for keeping coverage high
Token coverage only improves durably when the scan is part of the release ritual, not a one-off cleanup. A single audit surfaces the backlog; it does not stop the next round of drift, because the root cause — per-property opt-in without a gate — remains. Teams that ran the scanner on a cadence caught regressions within the iteration cycle rather than at the post-release retrospective, which made each fix small and contextually obvious rather than large and archaeologically confusing. Pair regular scans with the broader design system best practices that keep the Variables structure healthy and the suggestions accurate.
Run it on every release branch
Before publishing a new library version, run a File-scope scan and resolve the high-impact categories first — colors, then padding and gap, then typography. Effects and opacity tend to produce the most intentional one-offs and are good candidates for a Skip pass rather than a fix pass.
Scope by component, not by page
When designers are mid-iteration, a Page scan can be too noisy because work-in-progress frames pollute the report. Selection scope on the active component gives you a faster feedback loop and respects the fact that exploration always involves some hardcoded values that will be normalized later.
Limitations to know before you scan
- Gradients are reported as
gradient-{type}rather than a hex, so the suggested-token match falls back to manual review for gradient fills. - Effects are checked at the style-binding level, not per shadow property, so a partially bound shadow may still be flagged as untokenized.
- Spacing inside groups named
iconorbanneris intentionally skipped to avoid false positives on internal vector layouts. - The scanner walks at most 100 levels deep — extreme nesting beyond that is rare in practice but worth knowing.
- Auto-binding from the report is not exposed in the current UI; the report points at suggestions, you do the bind in Figma’s variable picker.
These constraints are Figma API boundaries, not gaps in the scanner’s design. The Plugin API exposes some bindings as paint styles and others as direct Variable aliases, so a scanner that conflates the two would produce false negatives on style-bound nodes. The official Figma Variables documentation is the most reliable reference if you want to know exactly which property exposes which binding shape.
Where this fits in a token-driven workflow
Find Untokenized Values closes the input side of the token pipeline — confirming that design values are actually bound before they reach code. If your team confuses this scan with Atomize Coverage Audit, read Coverage Audit vs Untokenized Values for the binding score vs literal list split and run order. Pair with a Figma contrast audit before release so accessibility failures do not slip through after binding is clean — meeting the WCAG 2.1 contrast thresholds is the minimum bar. Binding without exporting is still a gap: teams who run the scanner consistently also need the output side — moving Variables to DTCG JSON, CSS custom properties, or TypeScript constants via a design-to-code parity workflow. The W3C Design Tokens Community Group has been standardizing the exchange format in the DTCG specification, and build tools like Style Dictionary show the full pipeline end to end. Run the audit before every export step and you ensure the design side conforms to the contract before it reaches code.
Final verdict - Find Untokenized Values
Token coverage is not measurable by inspection - drift hides in properties that look correct on the canvas but carry no Variable binding. Find Untokenized Values removes that blind spot: it walks the full node tree, verifies each property against boundVariables, names the token you probably wanted, and exports the result so cleanup moves into a real ticketing flow rather than staying in designer memory. Make it a release gate and the report becomes a regression signal; ignore it and drift compounds quietly until the gap between design and code is too large to close in a sprint.