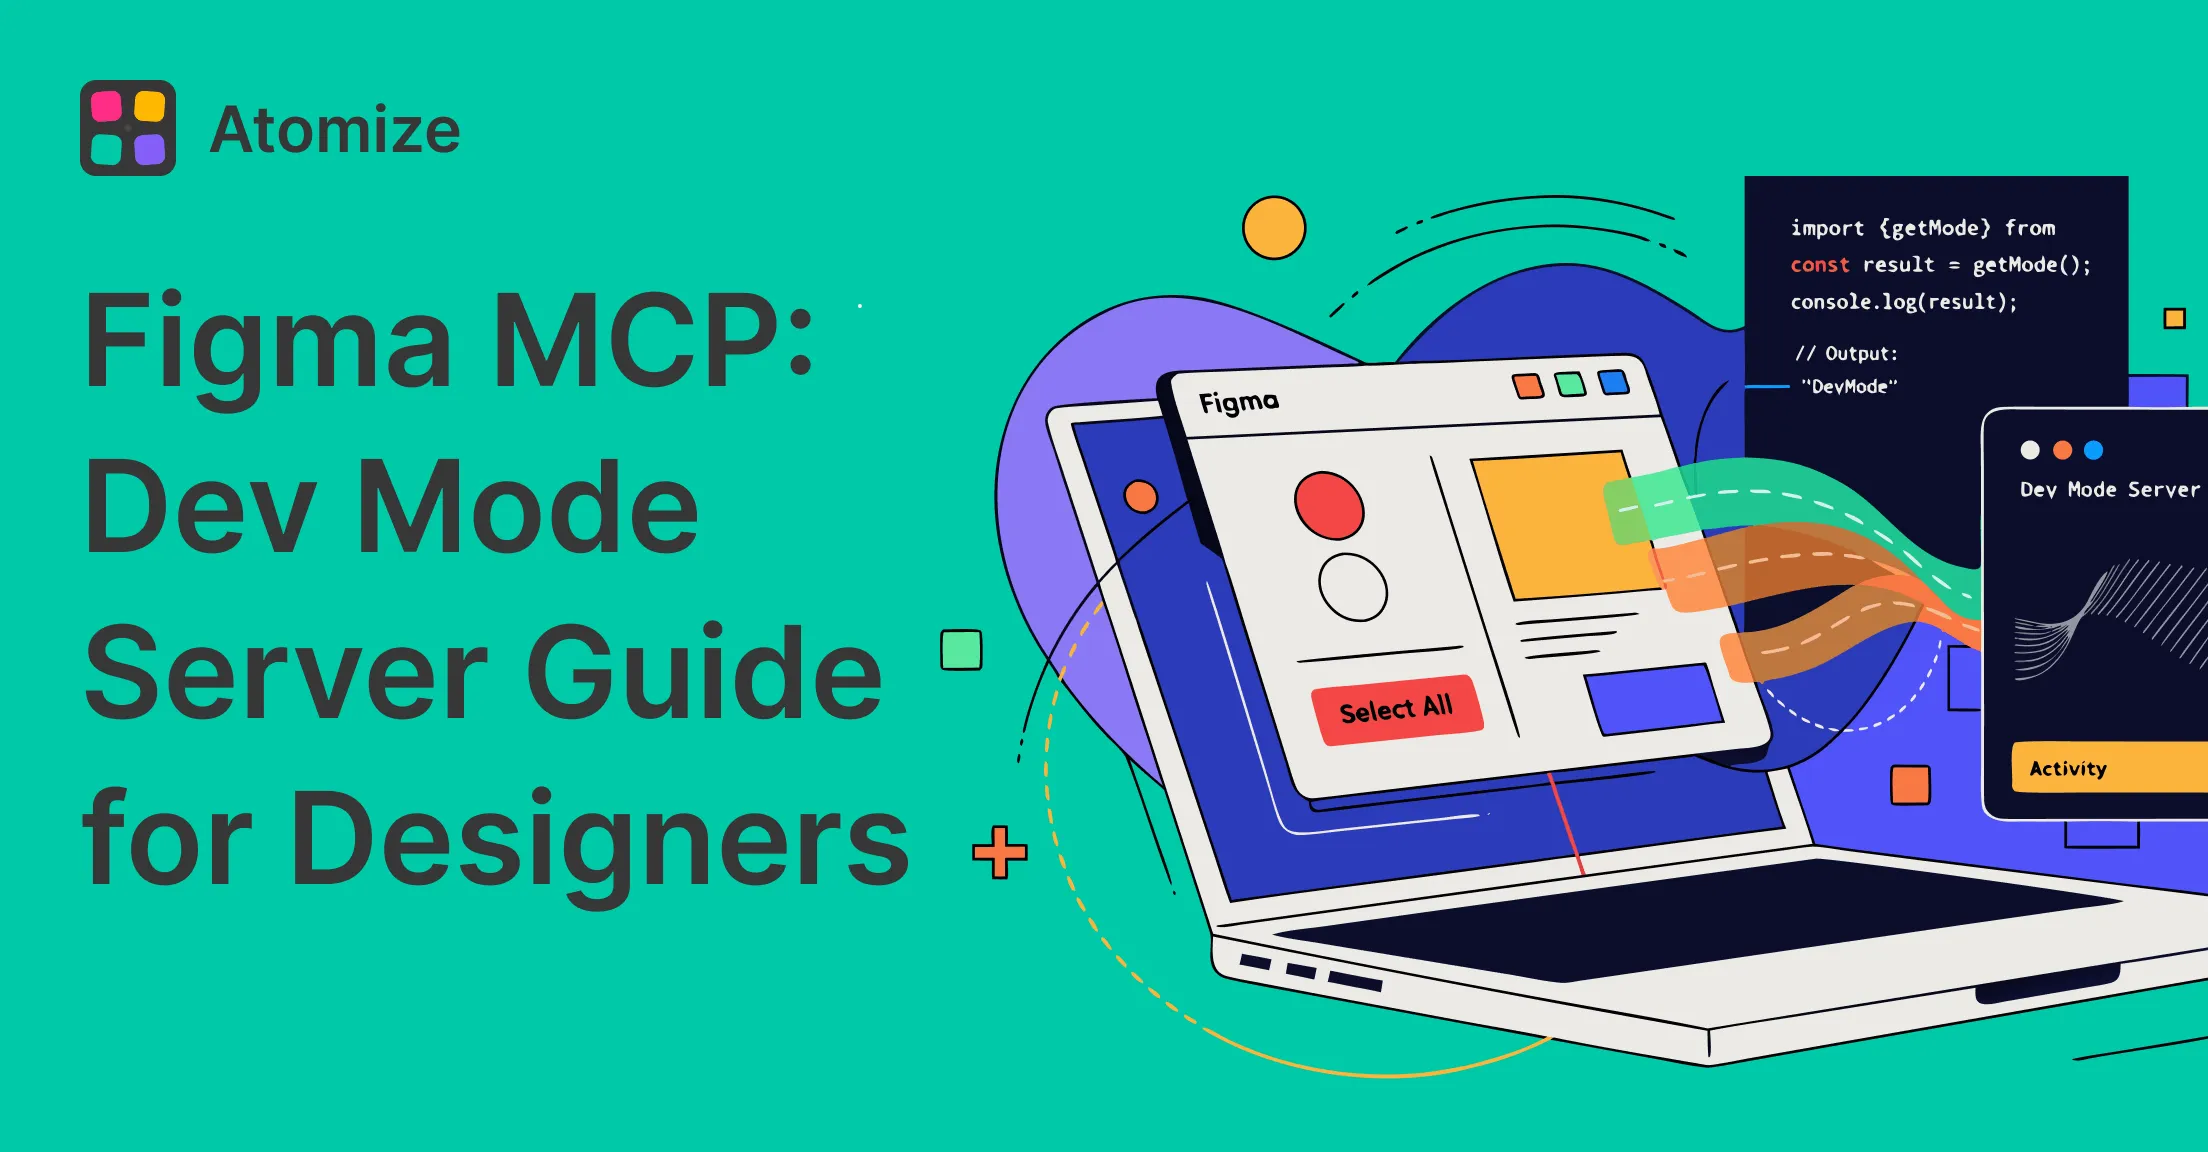
To setup Figma MCP with Claude Code, enable the MCP server in Figma desktop Dev Mode, then add a single JSON entry to your Claude Code .mcp.json file pointing at http://127.0.0.1:3845/mcp. The whole process takes under five minutes, gives Claude Code live access to your design tokens, component maps, and layout structure, and produces code that uses your real Variable names instead of hardcoded hex values. This guide is the Claude Code-specific companion to our Figma MCP overview — if you want the full architecture, tool breakdown, and alternative IDE comparison, start there. For token fundamentals that determine MCP output quality, see the Figma design tokens guide.
Related workflows: Figma MCP for the full Dev Mode server overview, Claude Design for AI canvas ideation before handoff, and AI skills for designers for repeatable prompt patterns.
In short
- Flip one toggle in Figma desktop Dev Mode to start the local MCP server at
http://127.0.0.1:3845/mcp. - Add a single entry to Claude Code’s
.mcp.json— no API keys, no auth, no additional installs. - Restart Claude Code and run
/mcpto confirm thefigma-dev-modeserver appears with four tools:get_code,get_image,get_variable_defs,get_code_connect_map. - Bind Variables before connecting — the AI can only quote token names that exist in your file. Run Find Untokenized Values first.
- One focused frame at a time beats a full-page selection: MCP responses are capped at roughly 20 KB per call.
The Figma MCP server is built into the Figma desktop app and speaks the Model Context Protocol, the open standard Anthropic published in November 2024. Claude Code — Anthropic’s agentic CLI tool built on the Claude API — is a first-class MCP client that discovers and invokes the server automatically once the config entry is in place. When Vitalina first tested the Claude Code + Figma MCP pipeline at Atomize, the entire setup — from toggling the server to getting a tokenized React component scaffold — took under three minutes. The quality of the output, however, depends almost entirely on how well your Figma file is structured before the AI reads it.
Prerequisites
Before connecting Figma MCP to Claude Code, make sure you have these four things in place. The plan requirement is the one that catches most people — is Figma MCP free? Not for production work. The Dev Mode MCP server needs a Dev or Full seat on a Professional, Organization, or Enterprise plan. Starter accounts get roughly six tool calls per month, which is enough to test the feature but not enough to ship. For teams building a governed design tokens workflow, the Professional tier is the practical starting point.
- Figma desktop app installed and running. The MCP server only works in the desktop app — browser-only Figma users must install the desktop client first. Download from figma.com/downloads.
- Claude Code installed. Install via npm:
npm install -g @anthropic-ai/claude-codeor follow the official Claude Code setup guide. Verify withclaude --version. - Dev Mode access in Figma. You need a Dev or Full seat on a Professional, Organization, or Enterprise plan. Starter accounts are limited to roughly six MCP tool calls per month.
- A Figma design file you have edit access to, open in the desktop app. The MCP server reads whatever is open and selected — having a file with structured tokens and real components makes a dramatic difference in output quality.
Step 1: Enable the Figma MCP server
The MCP server ships inside the Figma desktop app — there is nothing to download separately. It starts automatically when you flip one toggle in Dev Mode. At Atomize, our first working MCP call happened within two minutes of flipping that toggle; the only friction was remembering to restart Claude Code afterward so it could discover the new endpoint.
- Open the Figma desktop app (not the browser version) and load any design file you have edit access to.
- Switch to Dev Mode using the toggle in the top-right corner of the toolbar. If you do not see it, your seat may not include Dev Mode access.
- In the Inspect panel on the right side, scroll down to find the MCP section.
- Turn on the Enable desktop MCP server toggle. Figma starts a local JSON-RPC server at
http://127.0.0.1:3845/mcp. - Keep Figma running — the server is active only while the desktop app is open with Dev Mode enabled.
The local server runs on your machine only. No data leaves your computer through this channel unless you explicitly configure a remote MCP variant. The server exposes four tools — get_code, get_image, get_variable_defs, and get_code_connect_map — that Claude Code will discover and invoke automatically once connected. For a full breakdown of what each tool returns, see our Figma MCP guide.
Step 2: Configure Claude Code to connect to Figma MCP
Claude Code reads its MCP configuration from a .mcp.json file. You can place this file in your project root (per-project config), your home directory (global config), or specify a custom path with the --mcp-config flag. For most teams, a project-level .mcp.json is the right choice — it keeps the Figma MCP config versioned alongside the code it will help generate.
Create or edit .mcp.json in your project root and add the Figma Dev Mode server entry. The full file looks like this:
{
  "mcpServers": {
    "figma-dev-mode": {
      "type": "http",
      "url": "http://127.0.0.1:3845/mcp"
    }
  }
}
The type: "http" field tells Claude Code to connect over HTTP rather than stdio. If you already have an .mcp.json with other servers configured, add the figma-dev-mode entry to the existing mcpServers object — do not create a second file. Claude Code merges configurations from multiple locations, with project-level settings taking precedence over global ones.
If you prefer a global configuration so every project can access Figma MCP, place the same JSON in ~/.claude/.mcp.json. The tradeoff is that global configs are harder to version-control and to keep in sync across a team. For team workflows where everyone should have the same MCP setup, project-level .mcp.json committed to the repo is the stronger pattern.
Alternative: connecting via stdio proxy
Some teams run a proxy process that forwards Figma MCP over stdio — useful when the local HTTP server is blocked by a corporate firewall or when you want to add logging middleware. The stdio variant replaces the url field with a command that launches the proxy:
{
  "mcpServers": {
    "figma-dev-mode": {
      "type": "stdio",
      "command": "npx",
      "args": ["-y", "figma-mcp-proxy"],
      "env": {
        "FIGMA_MCP_URL": "http://127.0.0.1:3845/mcp"
      }
    }
  }
}
Most users should stick with the HTTP type — it is simpler, has fewer moving parts, and is what the official Figma documentation recommends. Reach for stdio only when your network environment requires it.
Step 3: Verify the connection is working
After adding the config, restart Claude Code so it reads the new .mcp.json. Then run a quick verification:
- Open a terminal and navigate to your project directory.
- Run
claudeto start Claude Code. - Type
/mcpand press Enter. Claude Code lists all connected MCP servers. - Confirm that
figma-dev-modeappears in the list with status connected. - If it shows status disconnected, check that Figma desktop is running, Dev Mode is enabled, and the MCP server toggle is on. Then restart Claude Code.
To run a real test, select a frame in your Figma file (a single component or screen, not the whole page), then in Claude Code type:
# In Claude Code, after selecting a frame in Figma:
"Generate a React component from my current Figma selection. Use the design tokens from get_variable_defs."
Claude Code invokes get_code and get_variable_defs on your Figma selection, then writes a component that references your token names. If the output uses var(--color-surface-primary) or spacing/4 instead of raw hex and pixel values, the setup is working correctly. If the output shows hardcoded values, your Figma file likely has untokenized properties — the AI can only quote what the file contains.
Common issues and troubleshooting
Most setup problems fall into one of four categories. Work through these in order — the first two cover over 80% of the issues we have seen at Atomize during client onboarding.
Claude Code cannot find the Figma MCP server
The most common cause is that Figma desktop is not running or Dev Mode is not enabled. The local MCP server starts only when both conditions are true. Also check that the MCP server toggle in the Inspect panel is explicitly turned on — it defaults to off. If everything looks correct in Figma, verify that no other process is using port 3845:
# Check if the Figma MCP server is listening
curl -s http://127.0.0.1:3845/mcp || echo "Server not reachable — is Figma desktop running with Dev Mode enabled?"
The server connects but tool calls fail
This usually means you are on a Starter plan hitting the roughly six-calls-per-month limit. Upgrade to a Professional, Organization, or Enterprise plan with a Dev or Full seat. If you are on a paid plan and calls still fail, check that your Figma desktop app is up to date — MCP support was added in early 2025 and older versions lack it. Update from the Figma menu: Figma > Check for Updates.
Generated code uses hardcoded values instead of tokens
This is not a connection problem — it is a file structure problem. Claude Code can only quote Variable names that exist in your Figma file. If a fill is set to #1A1A27 instead of being bound to a Variable named surface/elevated, the AI receives the hex value and writes it literally. The fix is upstream: bind your properties to Variables before sending the frame to MCP. Our Find Untokenized Values scan identifies every unbound property in your file so you can fix them before the AI reads them.
Output is truncated or incomplete
Figma MCP responses are capped at roughly 20 KB per call. If you select a full page with dozens of frames, the server may truncate the response and the AI works from partial data. The fix is simple: select one frame at a time. Single-component or single-screen selections produce the most reliable results.
Best practices for MCP-friendly Figma files
Connecting Claude Code to Figma MCP is easy — getting production-quality code from it depends on what is inside your file. After auditing dozens of client files before MCP onboarding, we found a consistent pattern: files with more than 80% Variable binding coverage produce first-pass scaffolds that need only minor prop adjustments; files under 40% coverage produce literal-heavy noise regardless of how the prompt is written. For a complete token architecture that holds up across toolchains, see the Figma design tokens guide.
- Bind every fill, stroke, padding, radius, and typography metric to a Variable. The AI cannot quote a token that does not exist. Run a scan to find unbound properties before sending any frame to MCP.
- Use real components, not detached groups.
get_code_connect_maponly matches what is exposed as a component in the library. Detached instances break the mapping. - Annotate non-obvious behavior in Dev Mode. The model reads annotations into its context — use them to explain interaction states, responsive breakpoints, and conditional visibility.
- Keep selections focused. One frame at a time outperforms whole-page selections for accuracy, and it stays under the 20 KB response cap.
- Audit accessibility before code generation. Run a Contrast Audit so the design the AI reads is already AA-clean — fixing accessibility in code is more expensive than fixing it in design.
- Version your
.mcp.jsonin git. Project-level MCP config committed to the repo means every developer on the team gets the same Figma connection without manual setup.
The Atomize angle: before you connect Figma MCP to Claude Code, run a scan to bind untokenized values. When your file uses structured tokens instead of raw hex codes, the AI receives surface/elevated instead of #1A1A27 and writes var(--surface-elevated) instead of a literal color. That single shift — from raw values to token references — is what separates AI-generated code you have to rewrite from code you can ship after a quick review.
Advanced: combining Figma MCP with design token workflows
Once Claude Code reliably reads your Figma tokens through MCP, the next level is establishing a bidirectional workflow: design tokens flow from Figma to code through an export pipeline, and the AI writes code that references those same tokens by name. This is where the full power of the Model Context Protocol meets a governed design system.
The workflow we use at Atomize, which has proven reliable across multiple client codebases, follows three stages:
- Tokenize in Figma. Build your Primitives (raw values like
gray/900) and semantic tokens (purpose-bound aliases likesurface/elevated) as Figma Variables. Ensure every property in every component is bound to a Variable — no raw hex, no literal pixel values. - Export tokens to code through a pipeline. Use a plugin like Atomize or a DTCG-compliant exporter to sync Variables into your codebase as CSS custom properties, Style Dictionary tokens, or Tailwind theme extensions. The W3C Design Tokens Community Group format ensures the same token names exist in both environments.
- Connect Claude Code via Figma MCP and prompt with token context. When Claude Code reads your selection through MCP,
get_variable_defsreturns the same token names your export pipeline wrote to the codebase. The AI generates code usingvar(--surface-elevated)and your token pipeline already has that CSS custom property defined.
The result: a design change in Figma updates the Variable, the export pipeline syncs the new value to the codebase, and Claude Code — reading the updated token through MCP — generates components already aligned with the current design. This is the migration from screenshot-based handoff to a live token channel that the Figma MCP overview describes in depth.
# Example workflow: tokenized component generation with Claude Code + Figma MCP

# 1. Your Figma file uses Variables bound to every property
# 2. Your codebase already has matching CSS custom properties

# In Claude Code, after selecting a frame:
"Generate a React card component using the design tokens from my Figma selection.
Use the Variable names from get_variable_defs as CSS custom property references.
Import components that appear in get_code_connect_map instead of rebuilding them."
Figma MCP vs traditional design handoff
The shift from traditional handoff to MCP-based handoff is not incremental — it changes what information reaches the developer and what gets lost in translation. The table below compares the three handoff paths most teams use today: screenshot-driven handoff, plugin-based export, and Figma MCP with Claude Code.
Figma MCP + Claude Code vs traditional design handoff methods
| Aspect | Screenshot handoff | Plugin export | Figma MCP + Claude Code |
|---|---|---|---|
| Token fidelity | Lost — hex values only | Preserved if plugin supports tokens | Live Variable names from the file |
| Component mapping | Manual — developer reads the screenshot | Partial — depends on plugin | Automatic via get_code_connect_map |
| Iteration speed | Hours — re-export on every change | Minutes — re-run the plugin | Seconds — re-select and re-prompt |
| Setup complexity | None | Install plugin, configure export | One toggle + one JSON entry |
| Code output quality | Literal values, hand-built layouts | Depends on plugin’s codegen | Token references, Var names, real imports |
| Requires paid plan | No | Varies by plugin | Professional+ with Dev/Full seat |
What makes the MCP + Claude Code combination different is that the AI is not working from a static export generated once and stale the moment the designer edits a layer. MCP provides a live read of the current file state — every Variable change, every component update, every annotation — and Claude Code invokes the tools as it reasons about what to build. The Figma MCP vs other tools comparison in our main guide covers the broader landscape including Framelink, Anima, Locofy, and Visual Copilot.
Final verdict — Figma MCP + Claude Code
Connecting Figma MCP to Claude Code takes five minutes and unlocks a design-to-code channel that our team at Atomize now considers essential infrastructure. The setup is trivial — one toggle in Figma, one JSON entry in .mcp.json, and a restart — but the output quality is determined upstream: how well your Figma file is tokenized and structured before the AI reads it. Files with comprehensive Variable binding and real components produce code that references your tokens by name and imports your existing component library. Files with mixed binding and detached groups produce plausible-looking noise that needs heavier review. For teams that have already invested in a governed token architecture and an export pipeline, adding Claude Code to the Figma MCP stack turns the design-to-code handoff from the slowest part of the workflow into the fastest. For teams still working with raw values and one-off screens, the priority should be token hygiene first — the AI can only be as clean as the file it reads.